10/2/16

Spring is coming , let's dress windows !

I haven't post since ages . I miss already as a blogger to be in touch with what is going with my colleagues and explain with pictures what is new in my studio 'taller de lino'.
Linen is my passion , and I know, when my customer receive any curtain at home, they are surprise how nice it is hanging in place, buying by internet has sometimes a bad surprise, not only about colours but also about measures .
In my case, honestly I have to say, is just the opposite , they leave a review sharing the nice experience to have at home Irish linen curtains enhancing windows , whenever they are living, the enjoy the new look of their windows .
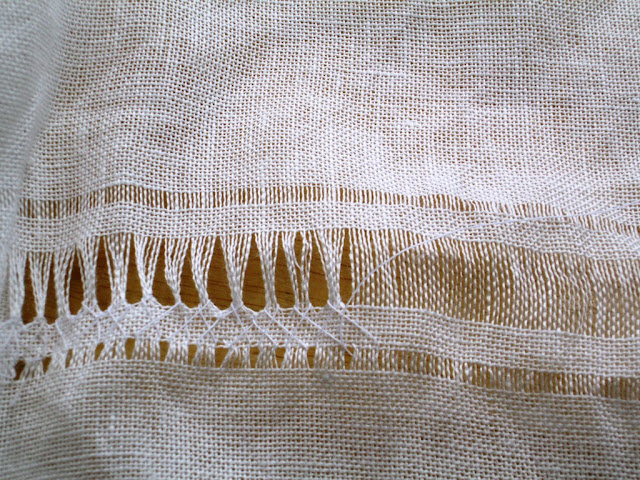
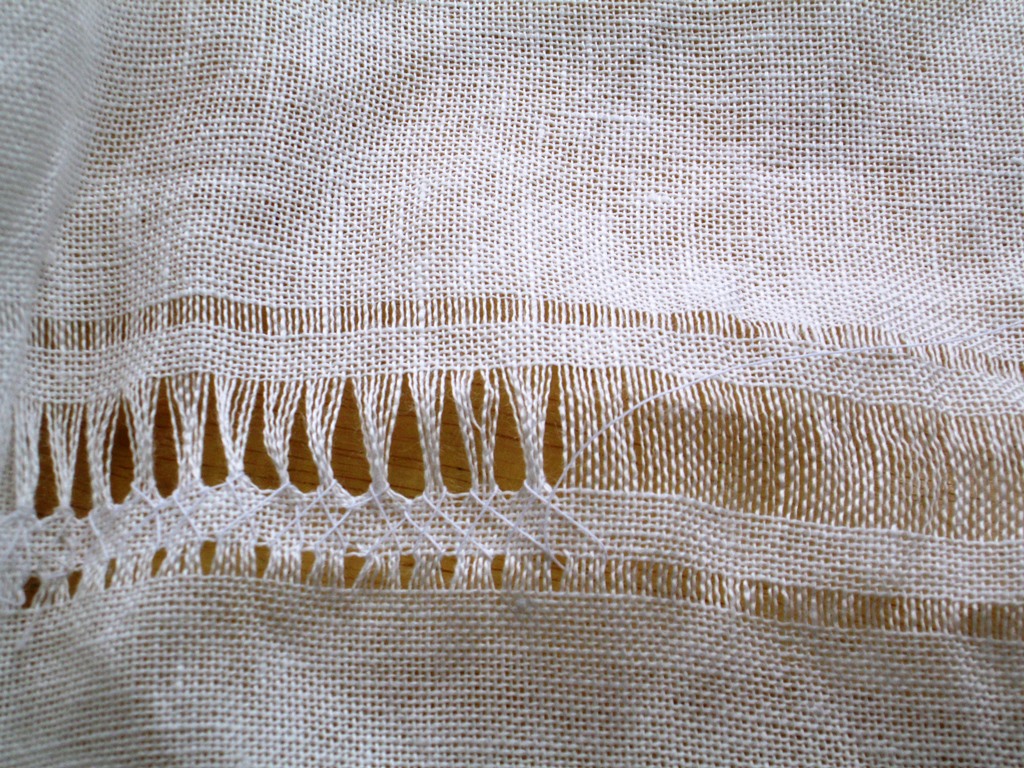
From small windows measures for a cottage or big size for a Sash windows in town houses, linen curtains with drawn-work never disappoint , in a Bay window looks gorgeous , but also it is so nice when is small and cute , make by measure , by hand, with care and only for you, those curtains highlight any room ,because the light throw the linen is magnificent , its texture allows filtering light without cover the outside view, often a nice garden.

I would like to share some shoots I tooke of my job , here in linen artisan atelier, and after how they look at home , here we go !


1/ making off :


2/ Finished at home , taking a picture:


In my bay window , shoot from outside front house.


 Detail , please take note that is the reverse side of the curtain , but still a clean work to show :-)

3/ At customer window , hanging at home :


It is a bad picture, I know, it is during the night , but actually can be seen how nice they are together , isn't it ?

When I ask to my clients to take a shoot at home, I'm not asking for the best one, otherwise they will not sent a picture .It is all right  if they want to share with me the good experience :-)

If what customer wants is Linen and lace , not problem at all, I have a wide variety of designs I can make for you , the only I need is time,  all my job it is handmade, as shown above picture.
An example could be :


Maria just sent to me this picture from linenartisan curtain at her home ...isn't it nice ?
Also I want to Post  a picture same piece to see better all details :


Happy sewing week to you all ! if you are not a fan of sewing, that is why some of you need me :-)) Don't hesitate to ask me , here my shop: http://linenartisan.Etsy.com
Keep in touch 

4/1/16

My Angel wolf Cendra passed away this morning

You might think that I haven't been here for ages to explain something about my stitches.
Today is not about sewing but about life, about love for those little sweethearts (4 paws)who always lived with me at home, one of them has left me today, Cendra, she lies in the land of the garden of my best friends .
I will always love her, I will always remember her elegance and smart look , as a husky she never barked , but her eyes spoke to me in different ways for what she wanted.
I feel a great void and some consolation because the end was peaceful ,
I feel so sad and tired,
dogs are like sons or daughters that do not survive us,
that is the hardest part to live with my best friends dogs..

I always will love you Cendra , you are in my mind with : Nord, Ros, Nina, and all those whom I have the joy to love .

 White eyelashes, clear look

She liked to bask in the Sun
Kitchen was her favourite room

Rest In Peace my love .
Tina is also asking for you 

1/9/15

Grandma Embossed Pinwheels finished


In case you want to know how that project begans , please take a look here  and here 

Ongoing now backing and wadding cotton taped in the floor :-)) before spraying fabric with temporary glue to keep the sandwich strong, before quilting  in a domestic sewing machine this Queen size Quilt (giggles )


Full of safe pins it is ready for the sewing machine, and old Bernette


Stitch in the ditch technique to ensure the seam allowances


Looped meandering I never covered the embossed triangles , I wanted to highlight them in all that Quilt.


       Queen size : 175 x 200 cm ( 69 " x 80 " )


 Happy week to you all !
 Thanks for visiting and having my Blog in your eyes :-))

TUTO :Assembling Magic Squares

I called this project 'Magic Squares', starting with a humble 'Charm pack', in my case: 1 print Ch p. plus 1 plain white Ch.p. it looks like an intricate work but it isn't .
As many of my inspired Quilt, I found this one in Missouri Star Quilt Co. whom I'm subscribe, I felt in love since I saw this pattern
I would like to explain here, in case you like it .

1/ As said I only use, so far , 2 Charm Pack : 1print and 1 plain white cotton fabrics
    For this project I would like a Table topper or bedspread decoration at  bottom bed

5 " squares called Charm Pack

2/  Sewing together face to face 1 print 1 white sq. all around the square :


3/ After that : cut diagonally , 2 diagonals


4/ Put aside in piles : 2 of them joining 2 prints squares and a pile with 2 of them joining white
as shown next pic


First separate into 2 piles 2 of the 4 HST you get cutting sq.


5/ You have now 2 piles, proceed to join as said : sewing 2 faced prints and sewing  2 faced white


6/ To show what I mean I joined same prints but actually what I made was to sew randomly prints  HST to get variety in a single block, 1 Block = 2 rectangles so far


4 different prints in same bloch

7/ Trim ears and excess to get accurate rectangle,  press all the sew allowance same direction


                             Randomly

8/ You will have now 2 piles : 1 pile rectangle join prints and 1 pile rectangles joined by white
Next step for the layout in the block it is join 2 rectangles (4 HST)  one of each as it shown next pic
IMPORTANT all of them the same direction you will join 4 of them in a clockwise pattern to complete the block of this project.

Made all the same direction, is important  to achieve the correct complete Block


Be careful when pressing HST you can make it bigger  :-))

Photos do not honour such nice prints fabric, they are gorgeous ! 


By join 4 Block together appears in the center a new shape : a diamond !! isn't it amazing ?

I hope it will be interesting for you ! I will show you in next post how will be finished .
Have a nice week , and happy sewing you all !

Here finished , charm rustic adorable Magic squares  (giggles)

26/8/15

Progress in the 'Grandma embossed Pinwheels '

Hello all !
A quick reminder what is going on at the 'Grandma embossed Pinwheels ' Tutorial,  quilt mentioned in my last post.
Although I'm doing 2 top quilts at a time , crazy yes ! and working in my customised linen curtains too, I like to change jobs when I'm working in my studio, too much time in the same intricate work it is a bit tired so, changing is stimulating for my (giggles)

My blog has been neglected for some reason I have explained last posting, now my family are on holidays  that gives it to me an extra time :-))

Some pictures of my recent advance  about bordering the Grandma quilt .
It will be ready for 'motion quilt' but thinking on NO covering what is the most important in that one : embossed pinwheels, I'm proud enough how it turned out ...
Let's say it is my own design, I respect so much my quilter's fellow from whom I'm learning , but I like to give a personal touch :-))
Here we are :

 
It will be a Queen size


I have to provider these fabrics from Etsy USA supplier, I found a good deal of 2 Yards of that nice print reds fabric, same range I used in the patchwork .I have ambitious plans on quilting that big size quilt ...
Hope will be interesting , let's see if the final job (Free motion quilt) it worth it !!

8/8/15

Grandma (embossed) Pinwheels Tutorial

It has been a long way since the last post in my blog. Lot of time without been in touch with my personal quilt, craft and hobby, one at a time ! Well, I mean , I was working, of course, but not posting and writing as much as I would .

First of all, after moving home, I stared an edible garden which makes me feel more than happy, as a vegetarian I like to take from my garden my dairy food : lettuce, rocket, mustard leaves , magetout , spinach
We have planted an apple and cherry tree, quercus, lot of flowers, climbing and rockery plants too. Our small garden it seems now much more green that was before..that's important to me.

But the  most important in our lives it has been the birth of Gina, Gina is a wonderful girl, nice and quiet (quite big now, after 2 months it seems to me LOL ) I went up and down, following her day by day, it seems so fragile when a baby is born !! Now she is on holidays , visiting the rest of the family :-))
I'm now coming back to my blog, I want to show you what is going on in my studio.
Work has been crazy lately, doing curtains and more curtains and I'm  feeling like I'm away on any update from my Etsy Irl Team, others teams at Etsy web, Blog readers, quilting ... etc etc . Even thought, we cannot be everywhere at once, can we ??

I will show you the process of the quilt I'm doing now. Quilting is the best way to keep creativity going.
I want to share my own design , probably is out there made by other quilter, but I wanted to made a 3D Half SquareTriangle (from now on HST ) in a Pinwheel pattern . I love Pinwheel, as shown in most of my Quilts, I made before a 3D Log cabin , I really enjoyed see here , in the Quilter nomenclature called as 'Prairie points ' .
Then instead to do a normal 'picket fence ' block, with 3 bars jelly roll which join them comes up a Pinwheel or Diamond in the centre , what I did was fold the square in a half and sew the entire fabric in HST shape
I have to face the bulk's fabric issue..but I think it worth it to try something different.
See here my trials and results , first I decided the block , after the 3D HST


This is the usual HST (picket fence ) in a 3 bars jelly roll to get a Diamond in the middle


join 4 blocks comes up a Diamond, as said  or  what I did was this one:


 the layout is a Pinwheel  after join 4 blocks the same:


But I wanted even more... make them on 3D , embossed HST and highlight pinwheels over all


Here mine, I used 'Le bouquet Francais ' fabric from Moda French General.


My trick to go faster: first of all
to sew all Jelly roll 3 strips, total width achieve is 6.5" then you will cut squares section of 6.5"

Once I have done, I sewed up triangles in its place.


Yes, of course, I have to undo
a bit for that, but it worth it !


Only for the seam allowance follow the line ! 


I used the plain colours of Jelly roll to make HST gathering Pinwheels


and some small red print also !


To put an example what I mean 3D, take a look to the scissors   ..got it?

Here, how I'm doing now the border using embossed HST too , the block is 4 x 2.5" sq with same 2.5" plain HST in the middle, will be join both sides of the quilt ..it seems Flying geese but also in 3D , take a look:


a row on both sides of the Quilt, sashed in red as following:


I will be post further how will be finished , I still have to decided it , at the moment measures are
50 " width by 60 " length , I want to add some more large

Hope will be interesting for you reader , if you have any question please feel free to leave a comment , delighted to know about you  :-))
Happy week !